
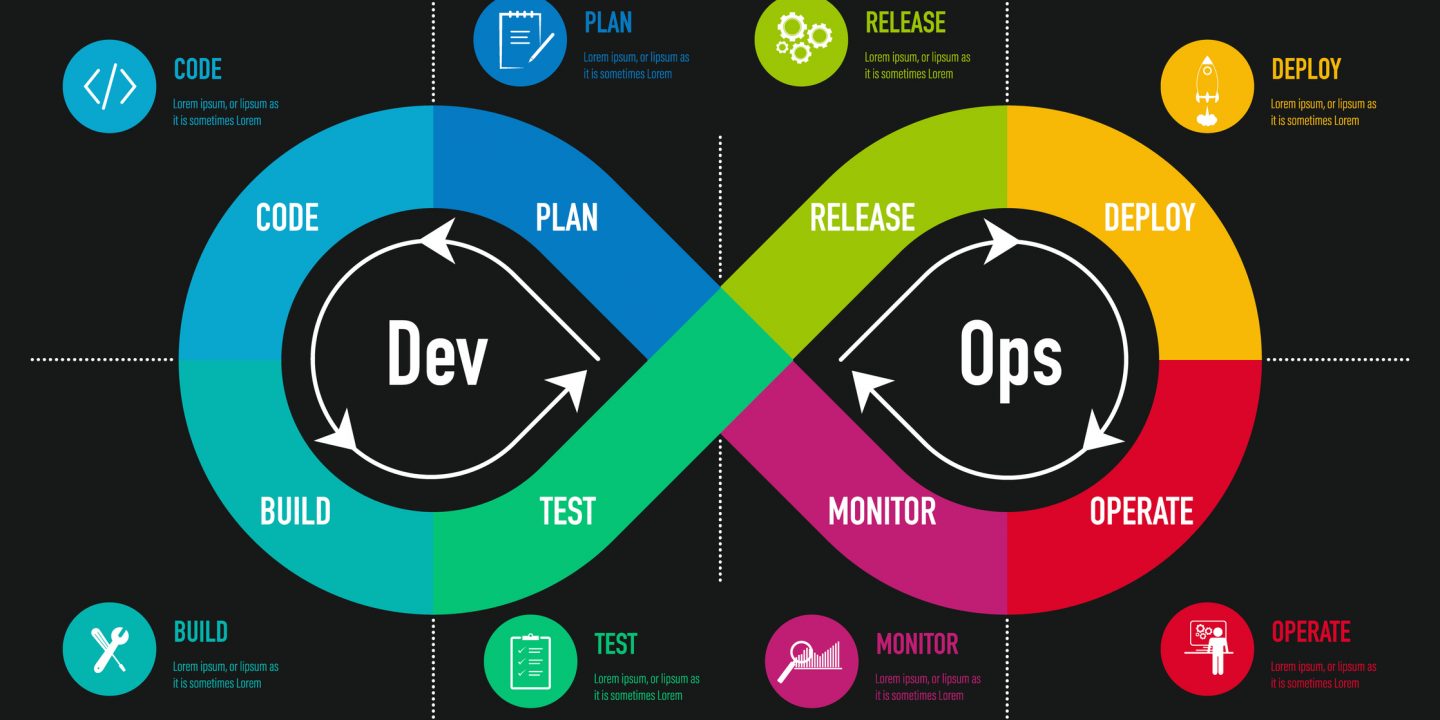
kubernetes상에 동작하는 application에 대한 Build 를 위한 pipeline 작성방법에 대하여 알아보도록 하겠습니다.
다음과 같은 상황을 가정하고 Pipeline을 작성할 예정입니다.
우선 첫째로 kubernetes 상에서 jenkins slave를 pod 형태로 띄우기 위한 pipeline 을 작성해보도록 하겠습니다.
podTemplate(label: 'jenkins-slave-pod',
  containers: [
    containerTemplate(
      name: 'git',
      image: 'alpine/git',
      command: 'cat',
      ttyEnabled: true
    ),
    containerTemplate(
      name: 'maven',
      image: 'maven:3.6.2-jdk-8',
      command: 'cat',
      ttyEnabled: true
    ),
    containerTemplate(
      name: 'node',
      image: 'node:8.16.2-alpine3.10',
      command: 'cat',
      ttyEnabled: true
    ),
    containerTemplate(
      name: 'docker',
      image: 'docker',
      command: 'cat',
      ttyEnabled: true
    ),
  ],
  volumes: [
    hostPathVolume(mountPath: '/var/run/docker.sock', hostPath: '/var/run/docker.sock'),
  ]
)
앞서 가정했던 react 를 위한 node와 maven 개발환경을 사용할수 있는 maven, 그리고 docker command를 이용하여 build, push 할수 있는 docker image를 지정하여 사용할 수 있는 환경을 kubernetes 상에서 준비하게 됩니다.
또한 volumes 항목에서 볼수 있듯이 container에 docker engine을 추가로 설치 및 구동하여 연결하는 방식이 아닌 host의 docker 그대로 사용하는 방식을 사용합니다.
참고로 label(ex. jenkins-slave-pod)의 경우 향후 step 상에서 동일한 value로 사용되어져야 합니다.
다음링크를 통해 좀더 상세한 podTemplate 사용법을 확인해볼 수 있습니다.
이후 위에서 지정했던 image별로 수행할 build 명령어들에 대한 pipeline을 작성해보도록 하겠습니다.
{
    node('jenkins-slave-pod') {
        def registry = "192.168.194.129:5000"
        def registryCredential = "nexus3-docker-registry"

        stage('Clone repository') {
            container('git') {
                // https://gitlab.com/gitlab-org/gitlab-foss/issues/38910
                checkout([$class: 'GitSCM',
                    branches: [[name: '*/dockerizing']],
                    userRemoteConfigs: [
                        [url: 'http://192.168.194.132/root/sampleapp.git', credentialsId: 'gitlab-account']
                    ],
                ])
            }
        }

        stage('build the source code via npm') {
            container('node') {
                sh 'cd frontend && npm install && npm run build:production'
            }
        }

        stage('build the source code via maven') {
            container('maven') {
                sh 'mvn package'
                sh 'bash build.sh'
            }
        }

        stage('Build docker image') {
            container('docker') {
                withDockerRegistry([ credentialsId: "$registryCredential", url: "http://$registry" ]) {
                    sh "docker build -t $registry/sampleapp:1.0 -f ./Dockerfile ."
                }
            }
        }

        stage('Push docker image') {
            container('docker') {
                withDockerRegistry([ credentialsId: "$registryCredential", url: "http://$registry" ]) {
                    docker.image("$registry/sampleapp:1.0").push()
                }
            }
        }
    }
}
위 pipeline을 좀더 상세히 보도록 하겠습니다.
먼저, git clone 진행 과정을 담은 pipeline 입니다.
stage('Clone repository') {
    container('git') {
        // https://gitlab.com/gitlab-org/gitlab-foss/issues/38910
        checkout([$class: 'GitSCM',
            branches: [[name: '*/dockerizing']],
            userRemoteConfigs: [
                [url: 'http://192.168.194.132/root/sampleapp.git', credentialsId: 'gitlab-account']
            ],
        ])
    }
}
branches를 사용하여 지정된 branch를 가져오게 할수 있습니다.
UserRemoteConfigs를 통해 url 및 인증정보를 지정할수 있으며 지정된 인증정보는 Jenkins Credential ID로 사전에 지정해놓은 ID/Password를 활용한 방식입니다.
그 외에도 submodule 관련 사항 및 timeout 설정등 아래 링크에 다양한 옵션 정보가 존재하니 해당 옵션을 활용하여 좀더 사용자 입맛에 맞추어 작성이 가능합니다.
다음으로는 앞서 지정했던 image인 node, maven 이미지를 활용한 Build 과정에 대한 pipeline입니다.
stage('build the source code via npm') {
    container('node') {
        sh 'cd frontend && npm install && npm run build:production'
    }
}

stage('build the source code via maven') {
    container('maven') {
        sh 'mvn package'
        sh 'bash build.sh'
    }
}
해당 pipeline의 경우 sh(shell script)을 사용하는 방식으로 기존에 사용하던 build command를 그대로 사용하면 됩니다.
이후 docker command를 이용한 docker image build 와 docker image push 과정을 담은 pipeline입니다.
stage('Build docker image') {
    container('docker') {
        withDockerRegistry([ credentialsId: "$registryCredential", url: "http://$registry" ]) {
            sh "docker build -t $registry/sampleapp:1.0 -f ./Dockerfile ."
        }
    }
}

stage('Push docker image') {
    container('docker') {
        withDockerRegistry([ credentialsId: "$registryCredential", url: "http://$registry" ]) {
            docker.image("$registry/sampleapp:1.0").push()
        }
    }
}
아래와 같이 앞서 지정했던 registry 정보를 활용하여 docker image에 대한 build 및 push를 진행합니다.
여기서는 직접 구축한 Nexus를 활용하여 docker image를 지정하는 방식을 사용하고 있기 때문에 withDockerRegistry를 통해 인증정보를 활용하여 연결되어지도록 합니다.
(여기서 사용한 nexus3-docker-registry 또한 Jenkins Credential ID로 사전에 생성해 놓았습니다.)
def registry = "192.168.194.129:5000"
def registryCredential = "nexus3-docker-registry"
withDockerRegistry 관련된 정보는 다음링크를 참조합니다.
최종적으로 아래와 같은 pipeline 이 만들어지게 됩니다.
podTemplate(label: 'jenkins-slave-pod',
  containers: [
    containerTemplate(
      name: 'git',
      image: 'alpine/git',
      command: 'cat',
      ttyEnabled: true
    ),
    containerTemplate(
      name: 'maven',
      image: 'maven:3.6.2-jdk-8',
      command: 'cat',
      ttyEnabled: true
    ),
    containerTemplate(
      name: 'node',
      image: 'node:8.16.2-alpine3.10',
      command: 'cat',
      ttyEnabled: true
    ),
    containerTemplate(
      name: 'docker',
      image: 'docker',
      command: 'cat',
      ttyEnabled: true
    ),
  ],
  volumes: [
    hostPathVolume(mountPath: '/var/run/docker.sock', hostPath: '/var/run/docker.sock'),
  ]
)

{
    node('jenkins-slave-pod') {
        def registry = "192.168.194.129:5000"
        def registryCredential = "nexus3-docker-registry"

        // https://jenkins.io/doc/pipeline/steps/git/
        stage('Clone repository') {
            container('git') {
                // https://gitlab.com/gitlab-org/gitlab-foss/issues/38910
                checkout([$class: 'GitSCM',
                    branches: [[name: '*/dockerizing']],
                    userRemoteConfigs: [
                        [url: 'http://192.168.194.132/root/stlapp.git', credentialsId: 'jacobbaek-privategitlab']
                    ],
                ])
            }
        }

        stage('build the source code via npm') {
            container('node') {
                sh 'cd frontend && npm install && npm run build:production'
            }
        }

        stage('build the source code via maven') {
            container('maven') {
                sh 'mvn package'
                sh 'bash build.sh'
            }
        }

        stage('Build docker image') {
            container('docker') {
                withDockerRegistry([ credentialsId: "$registryCredential", url: "http://$registry" ]) {
                    sh "docker build -t $registry/stlapp:1.0 -f ./Dockerfile ."
                }
            }
        }

        stage('Push docker image') {
            container('docker') {
                withDockerRegistry([ credentialsId: "$registryCredential", url: "http://$registry" ]) {
                    docker.image("$registry/stlapp:1.0").push()
                }
            }
        }
    }
}
마지막으로 해당 jenkins pipeline 파일을 관련된 repository에 commit and push 하여 관리하도록 합니다.
위와 같이 작성된 pipeline을 Jenkins내 pipeline으로 생성된 job에
연동을 수행하면 push와 같은 event가 발생될 때마다 작성한 Jenkins pipeline을 통한 build가 이루어지게 됩니다.